Showing posts with label apple. Show all posts

Wednesday, May 26, 2010

Mac OS X system restore using time machine and FreeNAS

I'd like to show you in this post how you can recover your Mac from a time machine backup using FreeNAS. If you've set up time machine as I've described here, you should be able to do a complete system restore.

I've used a virtual machine using VirtualBox 3.2.0 on my MacMini to demonstrate this. VirtualBox supports now to install Mac OS X guests (maybe not for a very long time, AFAIK this is not allowed by Apple.)

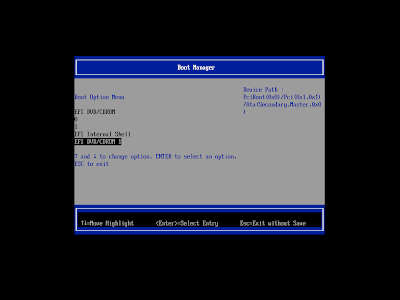
1. If you have an issue with your system and you want to do a complete restore (or disaster recovery), please boot from the original boot DVD
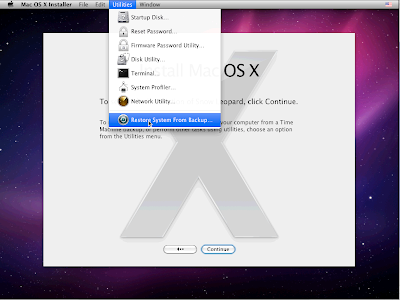
2. Choose 'Restore System From Backup...' the 'Utilities' menu
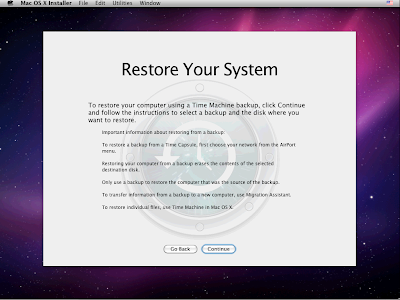
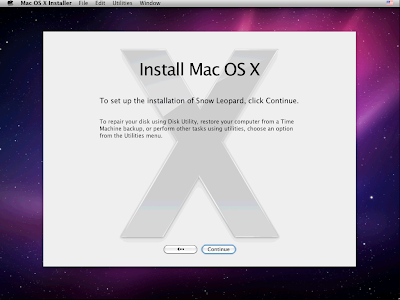
3. Click 'Continue'. The next screen will show you the available sources.


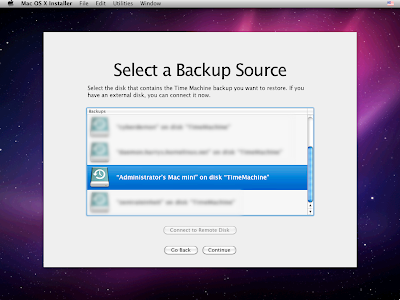
4. After entering your login credentials you should see the backup source for your system


5. The next screen shows you the available backups of your system. Select the one you've want to restore

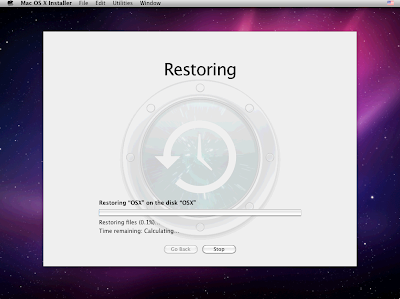
6. Select the destination disk and click 'restore' read the warning and 'continue'

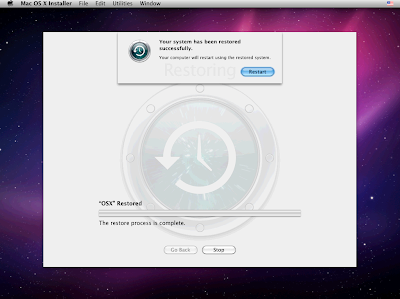
7. And finally restart the system

Monday, November 23, 2009

Mac OSX Time Machine and FreeNAS 0.7

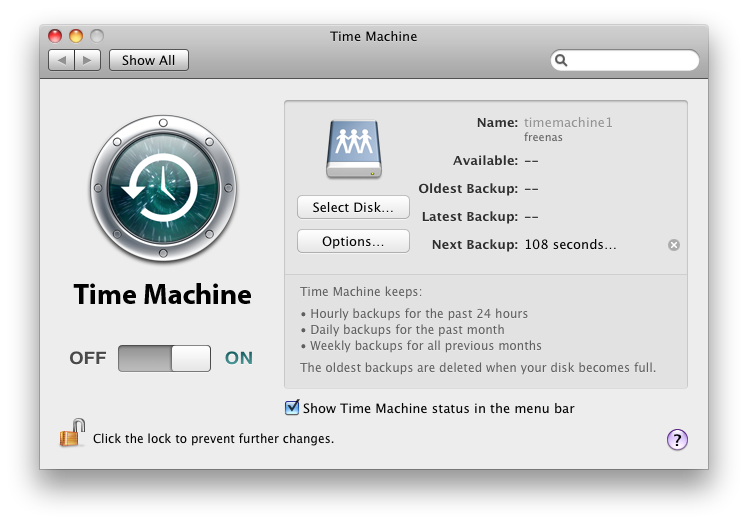
Since FreeNAS 0.7 it is easy to configure TimeMachine to use a AFP share (like Apple's Time Capsule)... Here is a short howto :-)

First step: Configure FreeNAS

-> Enable AFP
-> Configure the share
  • Automatic disk discovery - Enable automatic disk dicovery
  • Automatic disk discovery mode - Time Machine
Second Step: Configure OSX Time Machine

-> Select System Preferences -> Time Machine
-> Select Backup Disk
-> and Authenticate
Thats it!


Your FreeNAS will work now similar than a TimeCapsule. Enjoy! Details can be found here...

I've combined this with ZFS. With two clients and regular backups since two months, I have here a compression (gzip) enabled volume with 238 GByte. The compression ratio (compressratio) is at 1.24x

freenas:~# zfs get compressratio data0/timemachine
NAME PROPERTY VALUE SOURCE
data0/timemachine compressratio 1.24x -


Instead of 295 GByte, only 238 GBytes are used. IMHO this is great :-)


If you want to see how to do a complete restore of your system, please see my new blogpost "Mac OS X system restore using time machine and FreeNAS"

Thursday, May 28, 2009

Goodbye MacBook Pro :-(

I was on vacation last week. We stayed in France near Paris (Melun, La Rochette). On the campground La Belle Etoile.

In the night to Friday (22-May-2009) there was a robbery on the campcround.

Thieves stolen my backpack and my camera bag out of a VW-Bus while my friends stayed inside.

It is unbelievable but there was my beloved MacBook Pro, my Ipod, an external disk, two objectives for my camera and lots of other equipment in this bags :-( All of this is gone...

So if any of you find a MBP with the serial number W8809S9BYJK it belongs to me. Please contact me harryd71 at users dot sourceforge dot net

Monday, January 12, 2009

Blank smbpasswd - FreeNAS


While I'm hitting this issue (again :-) ), so I want to document this here...

My problem was that I had a blank smbpasswd. Even when I added the passwd manually with 'smbpasswd'. After a reboot, the password settings in /var/etc/private/smbpasswd are gone.
With debugging /etc/rc.d/smbpasswd (with set -x) I've found a variable called 'smbpasswd_minuid=1001'. My UID's are bellow 1001 (I'm using the same as on my Mac).
So after some search, I've seen that this feature (Enable customizing of minimum UID for smbpasswd via rc.conf variable 'smbpasswd_minuid'.) was implemented with Build 3177.

It is easy to set this variable in -> System -> Advanced -> rc.conf

Variable = smbpasswd_minuid  ; Value = 500


After applying this, it is possible to run /etc/rc.d/smbpasswd. The users and the encrypted passwords are stored in /var/etc/private/smbpasswd.

Friday, August 1, 2008

Time machine Backups on FreeNAS

Please read this new post!

It is possible to use a NAS-Volume for Apples Mac OSX 'Time machine' backups! As described on many websites you have to enable this function. But I've only found one howto that really works!

Here are the steps...

1. Enable the function that allows Time machine to do backups on Network-Volumes in the terminal (Applications -> Utilities -> Terminal)
defaults write com.apple.systempreferences TMShowUnsupportedNetworkVolumes 1
2. You have to create a growing Sparsebundle that will be used by Time machine

It is necessary that this Sparsebundle has a special name.
The name must be COMPUTERNAME_SOMECHARACTERS.sparsebundle. The SOMECHARACTERS are the MAC-Address of the en0 network interface (without : ).
For example name.domain.something_001122334455.sparsebundle

The Parameters for this sparsebundle:
- Format: Mac OS Extended (Journaled)
- Partitions: No partition map
- Volumesize: As much as you want to use for your Time machine backups (the size will grow over the time to this value)

4. After you've copied this sparsebundle to your Network Volume you want to use, open the Time machine system preferences and choose the Volume you want to use. It is not necessary to choose the sparsebundle.

I use this method on two Macs at home on a AFP-Share since several months without any problem!