First step: Configure FreeNAS
-> Enable AFP
-> Enable AFP
-> Configure the share
- Automatic disk discovery - Enable automatic disk dicovery
- Automatic disk discovery mode - Time Machine
Second Step: Configure OSX Time Machine
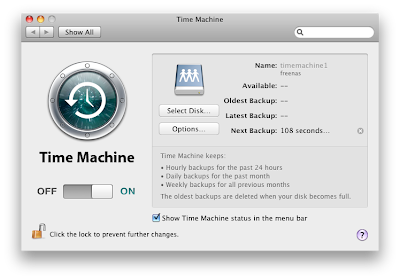
-> Select System Preferences -> Time Machine
-> Select System Preferences -> Time Machine
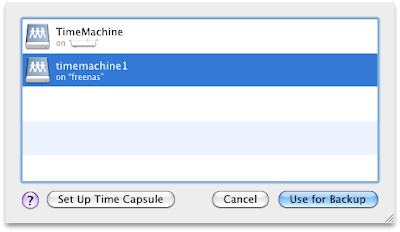
-> Select Backup Disk
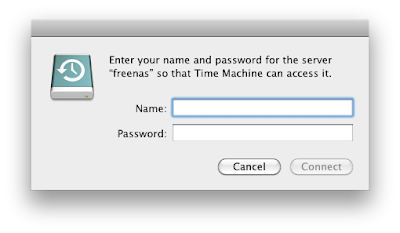
 -> and Authenticate
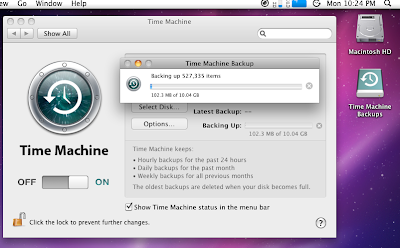
 Thats it!


Your FreeNAS will work now similar than a TimeCapsule. Enjoy! Details can be found here...
I've combined this with ZFS. With two clients and regular backups since two months, I have here a compression (gzip) enabled volume with 238 GByte. The compression ratio (compressratio) is at 1.24x
freenas:~# zfs get compressratio data0/timemachine
NAME PROPERTY VALUE SOURCE
data0/timemachine compressratio 1.24x -
Instead of 295 GByte, only 238 GBytes are used. IMHO this is great :-)
 -> and Authenticate
 Thats it!

Your FreeNAS will work now similar than a TimeCapsule. Enjoy! Details can be found here...
I've combined this with ZFS. With two clients and regular backups since two months, I have here a compression (gzip) enabled volume with 238 GByte. The compression ratio (compressratio) is at 1.24x
freenas:~# zfs get compressratio data0/timemachine
NAME PROPERTY VALUE SOURCE
data0/timemachine compressratio 1.24x -
Instead of 295 GByte, only 238 GBytes are used. IMHO this is great :-)
If you want to see how to do a complete restore of your system, please see my new blogpost "Mac OS X system restore using time machine and FreeNAS"


